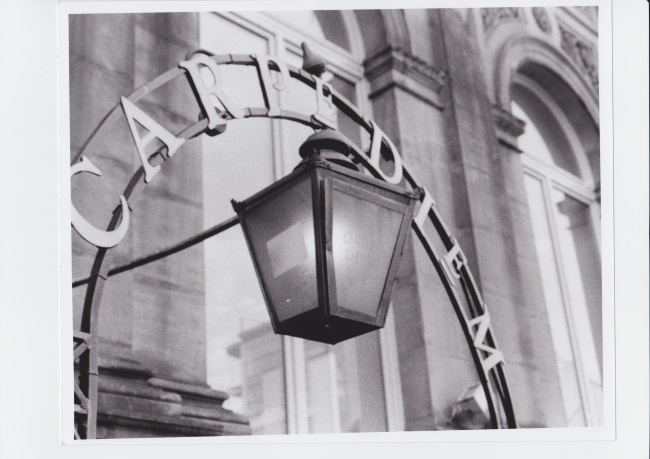
Considering this session was my first go at using a proper film camera, as opposed to a small one i had when I was little, and my first time using a dark room and going through the development process, I am really pleased with how this photo came out, I love how the grain within it is really prominent but doesn’t ruin the image. The details which show through are incredible. I would love to use the wet photography process in my future projects, I also felt that the assistant helping us really helped me to gain the most from the photos i produced and made the whole process far more interesting, she was really complimentary of my work.
Here is where I was experimenting with the exposure in order to make the details within the images, like the dark areas around the letters. The bottom image was exposed for 66 seconds with a contrast setting of 3.5, and the larger top image was a series of experiments where on a contrast setting of 4.0 I added 2 seconds each time the photo paper was being exposed. The darkest area within the image had been exposed for a total of 78 seconds, and this made the image look its best as the details became incredibly prominent.
I am incredibly lucky to have got this photo, it would have been nowhere near as good if the clouds hadn’t been as dramatic as they were, I quickly decided that the most important aspect of this image was the sky as it catches peoples eyes, whereas the building is something that although it did look appealing in the original photos, I didn’t feel was quite as important and making that darker would help to make the clouds more prominent.
Here i experimented with which exposure would best suit the image, to have some detail showing through from the building suited the image a lot more, and having it at an exposure of 3.5 for 66 seconds made the image the best it could be. The sky itself isn’t so dark that it drains out the actual detail of the image which is really important.


